
Kegerator Coupler Parts: Essential Accessories for Your Home Keg
Have you ever questioned why your draft pours either full of foam or completely flat? It all comes down to the tiny yet powerful parts that link your keg and tap. An improper setup can strip even premium brews of their carbonation and flavor.
At Installation Parts Supply, we know that a smooth pour starts with quality hardware. Whether you’re a homebrewing enthusiast or just love fresh draft beer, understanding these Sankey tap pieces ensures every glass is served just right.
From washers to gas lines, each part plays a role in maintaining pressure and flavor. Upwards of 90% of pouring problems are due to incompatible or damaged parts. With a bit of know-how, you can keep your setup working without a hitch.
Central Ideas
- Proper coupler selection ensures optimal beer flow and flavor.
- Installation Parts Supply offers dependable draft-system hardware.
- Routine upkeep stops most draft issues.
- Different beer types may require specific coupler styles.
- Coupler faults are behind most draft system breakdowns.
What Is a Kegerator Coupler?
The perfect draft beer starts with the right connection between your keg and tap. Think of the keg coupler as the connector between your CO₂ cylinder or nitrogen tank and the beer line, employing pressurized gas to deliver beer flawlessly to your taps. It’s the heart of your draft beer system: no coupler, no flow.
It both pumps gas in to pressurize your keg and regulates how the beer exits. Its interior consists of a probe, a check valve, and distinct ports for beer and gas. These components work together to maintain carbonation and prevent excess foam.
| Part | Function | Common Issues |
|---|---|---|
| Coupler Probe | Pierces the keg’s cap | Leaks if not aligned properly |
| Return Valve | Prevents backflow | Worn valves lead to flat beer |
| Gas/Liquid Ports | Connects to lines | Loose fittings create foam |
Attaching the coupler wrong is a rookie mistake—75% of first-time users do it. The result? Foamy messes, leaks, or worse, spoiled beer. Check Installation Parts Supply’s charts and videos for correct setup.
Though many couplers look alike, you must pair the correct one with your keg. The incorrect coupler not only spoils the beer, it can wreck your setup.
Types of Keg Couplers and Their Uses
Kegs come in many styles and each needs its matching coupler. Matching the right coupler to your beer ensures optimal carbonation and flavor. Here’s how to pick the perfect fit.
D-Type Coupler (Sankey)
This is the go-to for 85% of North American craft beers. The one-valve mechanism snaps firmly into place. Pro tip: Look for the Sankey name stamped on the side.
U-Type Coupler
The harp emblem identifies it for nitrogen blends like Guinness. Nitro beers rely on its special gas ratio for a silky head. A U coupler will not seat on a D-type keg—don’t attempt it.
S System (European Sankey) Coupler
Heineken and other European imports need this reverse-thread version. Its reverse thread stops you from screwing it onto a D keg. Trivia: It stands a bit taller than the North American model.
A-, G-, and M-Type Couplers
Certain European brews need these specific coupler types:
- A-Type Coupler: Fits Paulaner and Warsteiner kegs perfectly. The “slider” mechanism is foolproof.
- G-Type Coupler: Tri-flat stem locks onto Bass & Boddingtons. Found in pubs throughout Britain.
- M System: Made for Schneider Weisse kegs. The slide-lock clicks when secure.
Installation Parts Supply’s chart uses green=D, black=U, blue=S. A Midwest microbrewery saved $3,000 yearly by switching to correct couplers. Remember: True compatibility beats “universal” claims every time.
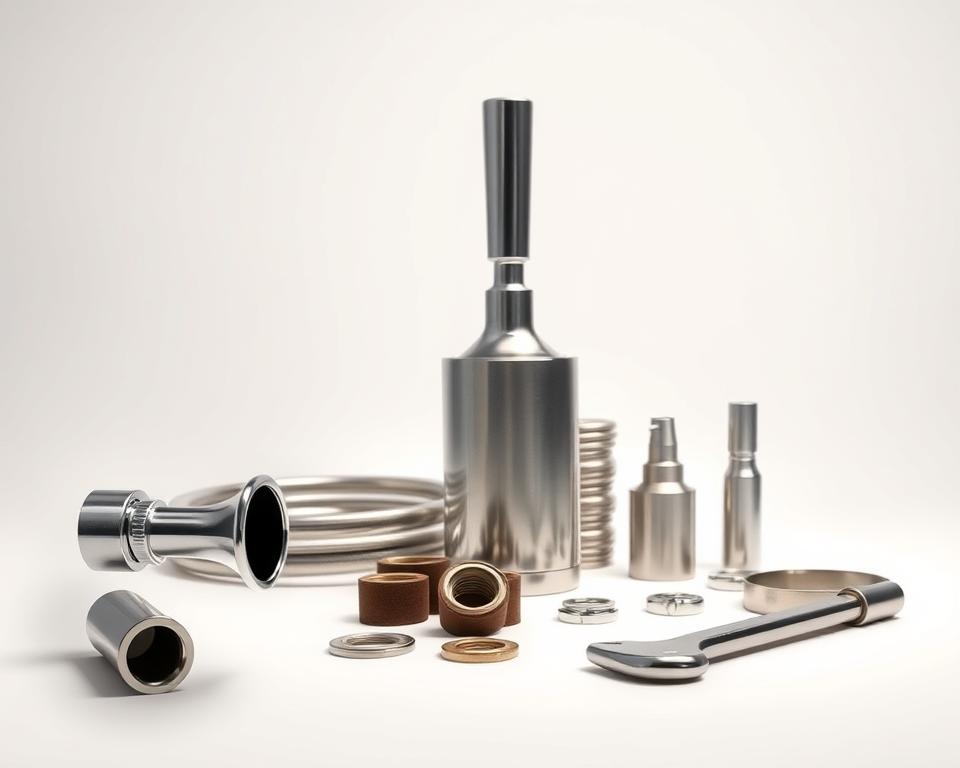
Coupler Parts Breakdown
Smooth flows come from well-crafted coupler pieces. These small but mighty pieces ensure your beer stays carbonated and flows flawlessly. Let’s break down the key hardware that keeps your system running.
Probe + Return Valve
The stainless steel probe pierces the keg’s seal, controlling beer flow. Quality probes endure three times as many uses. Underneath, the check valve stops reverse flow—our top replacement item.
Nut and Washer Assembly
A tight seal starts with the hex nut. Choose brass for cost, steel for longevity. Pair it with nitrile washers for cold temperatures—EPDM rubber cracks faster below 40°F.
| Component | Construction | Key Benefit |
|---|---|---|
| Probe | Stainless Steel | Resists wear |
| Check Valve | FDA-approved plastic | Prevents flat beer |
| Hex Nut | Brass or Stainless | Cost-effective & durable |
Pressure Ports
Gas ports manage 20–30 PSI of CO₂ or nitrogen. Incorrect pressure spells foam issues. Use 3/16″ tubing for beer lines; 1/4″ causes extra agitation. Rebuild kits with FDA seals simplify maintenance.
Pro Tip: Replace O-rings biannually or after ~50 kegs. A few dollars in washers beats hundreds in repairs.
How to Set Up Your Kegerator Coupler
A proper install ensures ideal pours. Correct hookups avoid pouring issues. Follow these steps to connect everything smoothly.
Mounting the Coupler
Open the handle, fit lugs into place. Twist until firm; don’t over-torque or harm the seal. Choose low-profile to gain 4–5″ clearance.
Use our torque wrench to set nuts at 8-10 ft-lbs. Most leaks—about 80%—come from probe misalignment. Always use fresh washers to maintain pressure.
Hooking Up Your Gas & Beer Lines
Use 5/16″ MFL fittings to attach the gas line. Apply thread sealant to prevent CO₂ leaks. Keep beer tubing 10-12′ of 3/16″ ID for best flow.
| Task | Tool | Note |
|---|---|---|
| Gas Line | Pipe dope | Test at 30 PSI for bubbles |
| Draft Line | Pipe cutter | Cut straight for proper seals |
| Pressure Test | Soapy water | Monitor for a full day |
Some setups include apps that track pressure live. One Denver brewpub reduced foam by 40% with our quick-connects. Always shut off CO₂ if major leaks occur.
Troubleshooting Common Coupler Issues
Foamy eruptions are the quickest way to waste beer. Once you know what to check, most issues are easy to fix. Let’s tackle the frequent headaches and their solutions.
Leaks and Foamy Beer
Sixty-eight percent of draft issues are foam-related. Ensure your temp hovers around 38°F to control foam. Warm beer releases CO₂ prematurely.
Next, inspect your beer line connections. A soapy water solution reveals gas leaks through bubbles. Snug fittings carefully; overtightening can harm seals.
- Check ball may hiss and interrupt flow
- Not sure on PSI? Use this guide:
| Style | CO₂ Pressure | Nitrogen Mix |
|---|---|---|
| Lagers | 10–12 | N/A |
| Nitro Stouts | 25–30 | 75% nitrogen |
Loose Coupler Issues
If your coupler fits loosely, first check for worn O-rings. Replacing seals corrects about 40% of these problems. If the face is warped, swap the entire coupler.
For uneven surfaces, try keg shims. A few dollars in shims cures tilt issues. Choose low-profile for compact spaces.
Pro Tip: Their emergency washer kit contains five critical seals. A Chicago bar cut waste by 18% after training staff on these quick fixes.
If your CO₂ tank frosts up, you’re running too hard. Defrost before tweaking the relief valve. Annual gauge calibration keeps readings true.
Cleaning and Maintaining Your Keg Coupler
Clean lines equal better-tasting beer. Residue can dull taste and impede flow. Regular care preserves performance.
Coupler Teardown
First, disassemble the coupler. Separate the handle, probe, and check valve. Let the parts sit in warm PBW solution (1 oz/gallon) for 15–20 minutes. It dissolves yeast and hop deposits.
Installation Parts Supply’s brush set reaches tight spots. Focus on the ball valve—gunk loves to hide there. Rinse thoroughly to avoid soapy aftertastes.
Cleaning Products
PBW leads the pack for balanced cleaning. Acids clean quick but may degrade seals. Ultrasonic cleaners remove buildup in pro bars.
- Drying: Remove moisture with air or cloth.
- Disinfecting: Follow FDA CFR 117 guidelines—30 seconds of contact time kills bacteria.
- Logs: Maintain a cleaning log for consistency.
UV light options add extra protection for rubber components. Always neutralize wastewater—PBW is alkaline and harms pipes. A little effort ensures quality pours and extends your system’s life.
In Closing
Achieve brewery-quality pours with expert hardware know-how. Choose compatible parts, maintain them well, and install correctly. Installation Parts Supply offers lifetime support and seasonal discounts on rebuild kits to keep your pours perfect.
Did you know? Routine care can extend your equipment’s life by 7 years. Download their free compatibility checklist or join a brewmaster webinar for pro tips. A quick annual inspection ensures trouble-free operation—just ask their 5-year satisfied customers.
Upgrade now—stop by Installation Parts Supply and boost your home setup.